Guide to accessing Microsoft Outlook from a browser for the first time with your University account
To download the guide, click here.
Step 1: Open Your Web Browser
Begin by opening your preferred web browser. Microsoft Outlook is compatible with all major browsers, including Google Chrome, Mozilla Firefox, Microsoft Edge, and Safari. Ensure that your web browser is updated to the latest version for the best experience.
Step 2: Navigate to the Office 365 Login Page
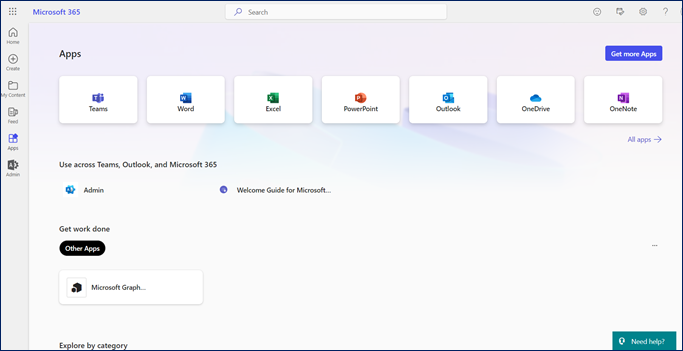
In the address bar of your web browser, type in the URL for the Office 365-login page: [portal.microsoft.com]. This will take you to the Microsoft Office home page.
Step 3: Sign In with Your University Account
On the Microsoft Office home page, click on the "Sign In" button located at the top right corner of the page. You will be redirected to a login page. Here, enter your University email address provided by your University (e.g., username@ju.edu.sa) and click "Next."

Step 4: Enter Your Password
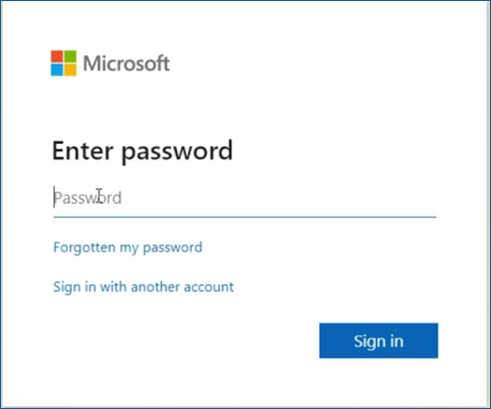
You will be prompted to enter your password. This is the password associated with your University account. Type in your password and click "Sign In." If you have forgotten your password, there should be an option to reset it. Follow the instructions provided to reset your password and then proceed with logging in.
Step 5: Two-Factor Authentication
Sign in to Microsoft 365 with your work or school account with your password like you normally do. After you choose Sign in, you'll be prompted for more information.

Choose Next.
To set up the Microsoft Authenticator app:
- On the Add a method page, select Authenticator app from the list, and then select Add.
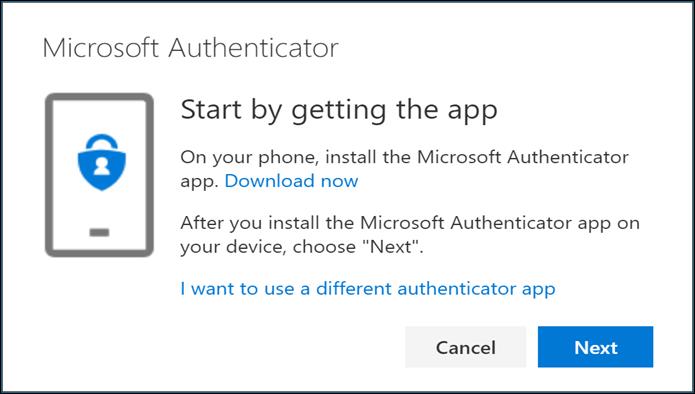
- On the Start by getting the app page, select Download now to download and install the Microsoft Authenticator app on your mobile device, and then select next. For more information about how to download and install the app, see Download and install the Microsoft Authenticator app.
- If you want to use an authenticator app other than the Microsoft Authenticator app, select I want to use a different authenticator app.
- If your organization lets you choose a different method besides the authenticator app, you can select I want to set up a different method.
5. Remain on the Set up your account page while you set up the Microsoft Authenticator app on your mobile device.

6. Open the Microsoft Authenticator app, select to allow notifications (if prompted), select Add account from the Customize and control icon on the upper-right, and then select Work or school account.
Note: The first time you set up the Microsoft Authenticator app, you might receive a prompt asking whether to allow the app to access your camera (iOS) or to allow the app to take pictures and record video (Android). You must select Allow so the authenticator app can access your camera to take a picture of the QR code in the next step. If you don't allow the camera, you can still set up the authenticator app, but you'll need to add the code information manually. For information about how to add the code manually, see manually add an account to the app.
7. Return to the Set up your account page on your computer, and then select Next. The Scan the QR code page appears.

8. Scan the provided code with the Microsoft Authenticator app QR code reader, which appeared on your mobile device after you created your work or school account in Step 6.
9. The authenticator app should successfully add your work or school account without requiring any additional information from you. However, if the QR code reader can't read the code, you can select Can't scan the QR code and manually enter the code and URL into the Microsoft Authenticator app. For more information about manually adding a code, see Manually add an account to the app.
10 Select next on the Scan the QR code page on your computer. A notification is sent to the Microsoft Authenticator app on your mobile device, to test your account.

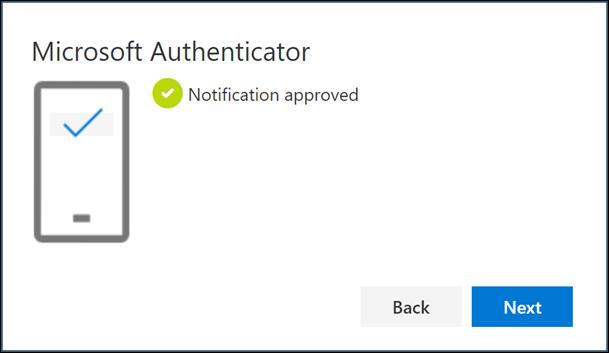
11. Approve the notification in the Microsoft Authenticator app, and then select Next. Your security info is updated to use the Microsoft Authenticator app by default to verify your identity when using two-step verification or password reset.
Step 6: Access Outlook
Once you are successfully logged in, you will be taken to the Office 365 dashboard. From here, you can access various Office apps. Locate and click on the Outlook icon, which resembles an envelope. This will open Outlook in your browser.

Step 7: Setup Your Inbox
The first time you access Outlook, you may need to set up your inbox. Follow the on-screen prompts to configure your email settings. This may include setting your time zone, language preferences, and signature. Take your time to customize these settings to suit your needs.
Step 8: Explore the Interface
Familiarize yourself with the Outlook interface. Key areas to explore include:
- Inbox: Where you will receive new emails.
- Sent Items: A record of emails you have sent.
- Drafts: Emails you have composed but not yet sent.
- Deleted Items: Emails you have deleted.
- Folders: Organize your emails into different categories for better management.
Step 9: Composing and Sending Emails
To compose a new email, click on the "New Message" button usually located at the top left corner of the screen. A new window will open where you can enter the recipient's email address, subject, and body of the email. Once you have composed your message, click on the "Send" button.


Step 10: Managing Your Emails
- Outlook offers a variety of tools to manage your emails effectively:
- Search: Use the search bar to find specific emails quickly.
- Filters: Apply filters to sort emails by date, sender, size, and more.
- Flags and Categories: Use flags to mark important emails and categories to organize them.
- Rules: Set up rules to automate email management, such as moving emails from certain senders to specific folders.
Step 11: Using the Calendar
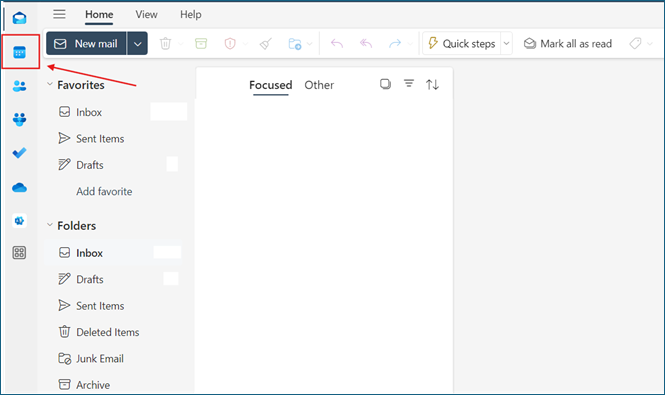
Outlook also includes a powerful calendar feature. To access it, click on the calendar icon located in the lower-left corner of the screen. Here, you can schedule meetings, set reminders, and organize your tasks. You can also share your calendar with colleagues and view their availability.
Step 12: Accessing Contacts
The contacts section in Outlook allows you to manage your professional network. Click on the contact icon to add new contacts, create contact groups, and import contacts from other sources.

Step 13: Customizing Settings
To customize your Outlook experience further, click on the settings icon (gear symbol) usually found in the upper-right corner of the screen. Here, you can adjust various settings, such as customizing the theme, changing your signature, and setting up automatic replies.


 E-services


